

Table of Contents
- Define Your Project Scope and Planning Fundamentals
- Create a Residential Construction Project Timeline
- Develop Your Residential Construction Budget Planning Strategy
- Build a Construction Project Schedule Template for Tracking
- Master Managing Construction Subcontractors and Teams
- Communicate with Homeowners and Track Progress
- Handle Change Orders, Delays, and Project Closeout
- Conclusion
- Frequently Asked Questions
Last Updated: October 17, 2026
Define Your Project Scope and Planning Fundamentals
How to manage residential construction projects starts with crystal-clear scope definition. Most projects go sideways here: teams rush this step, then spend months fighting scope creep and budget overruns.
Your scope of work is your contract with the homeowner. It defines what gets built, what doesn’t, and what happens if either party wants to change direction.
Start by documenting these core elements:
- What specific work is included (kitchen renovation, addition, structural changes, finishes)
- What’s explicitly excluded (landscaping, permits, appliance upgrades if not mentioned)
- Which existing structures or systems stay, which get replaced
- Timeline expectations and key milestones
At MLJ Construction Ltd., the single biggest predictor of project success is a scope document both parties sign off on before work starts.
Get the homeowner to walk the space with you and mark up photos or a floor plan together. What they think is included often differs from what you think. Catch those gaps now, not three weeks into framing.
Create a Residential Construction Project Timeline
Your residential construction project timeline is your roadmap; without it, you manage by crisis instead of by plan. A typical addition or major renovation requires careful planning to establish realistic durations for each phase.
Structure your timeline in phases:
- Pre-construction (1-3 weeks): Permits, inspections, site prep, material ordering
- Demolition and structural work (2-6 weeks): Varies wildly based on what you’re removing or adding
- Rough-in phase (3-5 weeks): Framing, electrical, plumbing, HVAC
- Inspection and code review (1-2 weeks): Municipal inspections; fixes if needed
- Insulation, drywall, finishing (3-6 weeks): Depends heavily on complexity
- Final trades and touches (2-4 weeks): Flooring, painting, fixtures, trim
- Final inspection and closeout (1 week): Punch list, warranty handover
Each phase has dependencies: you can’t install flooring until drywall is sanded, or close walls until rough electrical and plumbing pass inspection. Compressing these sequences usually means rework and delays.
Weather delays, permit delays, and inspection backlogs are real. Add 10-15% buffer to your timeline. A 16-week project should be scheduled for 18-19 weeks. That buffer protects your reputation and keeps the homeowner’s expectations realistic.
Develop Your Residential Construction Budget Planning Strategy
Budget planning for residential construction projects requires discipline and specificity. A vague budget (“around $150,000”) creates conflict; a detailed, line-item budget creates accountability.
Start with these cost categories:
- Labor (general contractor time, crew wages, specialized trades)
- Materials (lumber, drywall, electrical, plumbing, fixtures, finishes)
- Permits and inspections
- Equipment rental (scaffolding, lifts, temporary power)
- Contingency (typically 10-15% of total for unknowns)
Get written quotes from subcontractors and suppliers; don’t estimate, get actual numbers. Reconcile spend against budget weekly or biweekly so you catch drift before course-correcting means cutting quality. Budget planning is a living document you update as conditions change, materials get ordered, and labor hours accumulate.
Build a Construction Project Schedule Template for Tracking
A construction project schedule template keeps everyone aligned on what’s happening when. Without it, your crew doesn’t know the priority, subcontractors arrive when convenient, and the homeowner wonders why nothing is progressing. What separates a schedule that works from one that gets ignored is whether it models dependencies and the critical path, not just tasks with dates.
Your schedule template should include these columns:
- Task ID and name: Specific, not vague (not “framing” but “frame exterior walls, install headers, frame roof”)
- Duration: How many working days this task takes
- Start and end dates: When it begins and when it must finish
- Predecessors: Which task IDs must finish before this one starts
- Responsible party: Who’s doing the work (your crew, which subcontractor, material supplier)
Identify the critical path first
The critical path is the longest chain of dependent tasks from start to finish. Every task on it has zero float, so any slip moves the whole project; tasks off it can absorb small delays.
A typical addition sequence in dependency terms: permits and site prep precede demolition; demolition precedes framing; framing precedes rough-in; rough-in precedes the rough-in inspection; that inspection precedes insulation and drywall; drywall precedes finishing trades; finishing precedes the final inspection and punch list.
Run a weekly look-ahead
A full schedule is too detailed to review weekly. Use a three-week look-ahead: pull tasks scheduled for the next 15 working days, confirm materials and labor are committed, and flag anything not ready. This is where most schedule failures are caught, like an unconfirmed cabinet delivery or an unbooked electrician. It’s a 20- to 30-minute meeting with your site lead and key trades that feeds the homeowner update.
Recover from slips with a documented plan
When a task slips, don’t just push every downstream date. Work through three options in order: compress (add crew or overtime to a later critical-path task), resequence (move a non-dependent task forward), or accept and communicate (if recovery costs more than the delay is worth, tell the homeowner with a revised date). Document your choice and why; that record protects you if the timeline is later disputed.
A schedule template earns its keep only when it shows dependencies, float, and the critical path. Update the look-ahead weekly, recalculate downstream dates when tasks slip, and record your recovery decision. A schedule nobody recalculates is just a poster.
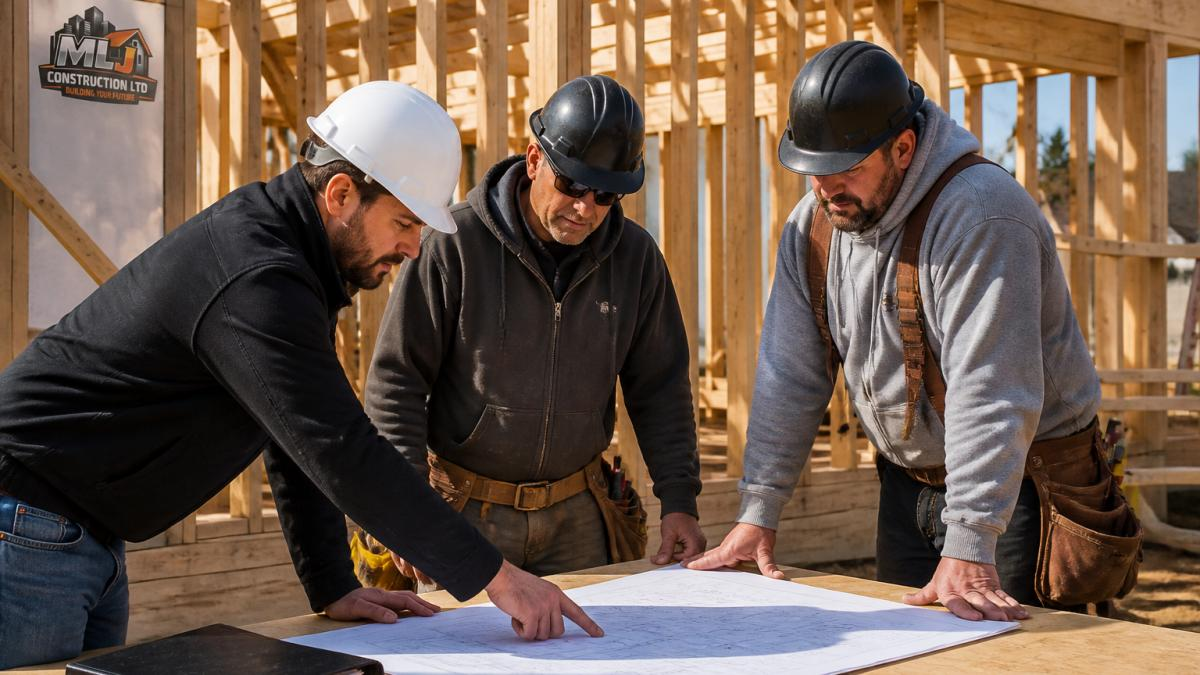
Maintaining this level of oversight requires consistent communication and real-time updates, a process significantly streamlined by integrating contractor management apps into your daily workflow.
Master Managing Construction Subcontractors and Teams
How you manage construction subcontractors directly determines whether your project stays on schedule and within budget.
Set expectations upfront. Your subcontractor agreement should specify:
- Scope of work (what they’re responsible for, what you’re providing)
- Timeline (start date, duration, end date, penalties for delays)
- Payment terms (deposit, progress payments, final payment, holdback)
- Quality standards (materials, workmanship, cleanup)
- Insurance and liability coverage requirements
Communication prevents most problems. A weekly 15-minute coordination meeting with key trades keeps everyone aware of schedule changes, material arrivals, and what’s next.
At MLJ Construction Ltd., we maintain long-term relationships with our trades because we communicate clearly, pay on time, and treat them as partners.
Communicate with Homeowners and Track Progress
Homeowner communication is where most residential construction projects either succeed or fail.
Set a communication schedule upfront. Weekly updates, a brief email, a site photo, a quick call, take 15 minutes and prevent hours of conflict later.
Your updates should cover:
- What was completed this week
- What’s happening next week
- Any delays, issues, or decisions needed from the homeowner
- Photos of progress (homeowners love seeing the transformation)
- Budget status (are you on track, over, under)
Use clear language and avoid jargon. If you say “we’re waiting on the rough electrical inspection,” explain what that means and why it matters to the timeline.
Take photos at the same time each week from the same angles. Time-lapse progression photos are powerful proof of momentum and quality. Homeowners share them with friends. That’s your best marketing.
Handle Change Orders, Delays, and Project Closeout
Change orders, delays, and closeout are where residential projects most often turn adversarial. Treat all three as documentation and decision-management problems rather than construction problems, because that’s where disputes originate.
Change orders: price before you proceed
A change order is a written amendment to the contract stating the scope change, its price, and its schedule impact. The rule that prevents most disputes: no work on a change until the change order is signed.
A workable change-order form captures:
- Description: What is changing, referenced to the original scope line it modifies
- Reason: Homeowner request, unforeseen condition, or code requirement
- Price: Labor, material, and any subcontractor markup, itemized
- Schedule impact: Days added or removed, and which milestone moves
- Approval: Both signatures and a date before work starts
Price changes with a consistent method so the homeowner isn’t surprised, commonly cost plus a stated overhead-and-profit percentage disclosed in the original contract.
Delays: classify, communicate, decide
Not all delays are equal. Separate them into three buckets because each has a different response:
- Excusable and compensable: Owner-caused or owner-directed changes. The schedule moves and the contractor may be entitled to additional cost.
- Excusable but not compensable: Weather, municipal permit backlogs, or inspection delays outside anyone’s control. The schedule moves but cost stays with the contractor unless the contract says otherwise.
- Non-excusable: Subcontractor no-shows, material ordering errors, or poor sequencing. The contractor absorbs the cost and the schedule impact.
When a delay hits, notify the homeowner in writing within a short window, state the cause and its bucket, and give a revised date. Then offer options: accept the new date, compress later work to recover days, or resequence non-dependent tasks. Document the choice, the same decision tree as schedule slips, applied to the contract.
Closeout: verify, document, hand over
Closeout is where quality gets verified and the warranty clock starts. Run it as a checklist with sign-offs, not a verbal walkthrough:
- Punch list walkthrough: Walk the home with the homeowner, record every deficiency with a photo and a location, assign an owner and a due date, and have both parties sign the list.
- Inspection and permit closure: Confirm every required inspection has passed and that the permit is closed with the authority having jurisdiction. Keep the inspection records.
- Warranty and documentation package: Assemble manufacturer warranties, product manuals, and your own workmanship warranty, and state the warranty period and what it covers in writing.
- Final payment and holdback: Release final payment and any statutory holdback only after the punch list is complete and the permit is closed. In many provinces, construction holdback and lien periods are governed by lien legislation, so confirm the applicable holdback percentage and release timing for your jurisdiction before you invoice.
- Post-handover follow-up: Schedule a 30-day and a 90-day check-in to address settling, seasonal issues, and warranty items while they’re small.
A closeout file with the signed punch list, closed permit, warranty package, and final payment record is your defense if a dispute arises months later, and the artifact that turns a satisfied homeowner into a referral.
Holdback rules and lien periods vary by province and change over time. Confirm the current holdback percentage, the lien period, and the release conditions for your jurisdiction before you structure final payment, and put the holdback terms in the contract, not in a verbal understanding.
Issue a one-page closeout summary to the homeowner: what was built, the warranty terms, who to call for service, and the date the warranty expires. Homeowners keep it, refer to it, and share it, and it costs you fifteen minutes.
Conclusion
Managing residential construction projects is fundamentally about clarity, communication, and follow-through. Define your scope precisely. Build a realistic schedule. Track your budget relentlessly. Communicate with your homeowner and your trades consistently.
MLJ Construction Ltd. brings comprehensive construction management expertise to every project, ensuring effective coordination of schedule, cost, quality, and safety from concept through completion. Ready to transform your vision into reality? Get a quote and experience the difference that experienced, collaborative project management makes.
Frequently Asked Questions
What are the main stages of a residential construction project?
Residential construction typically moves through seven key phases: planning and design, permitting and approvals, budgeting and cost estimation, scheduling and timeline development, team assembly and subcontractor selection, active construction with progress tracking, and final closeout with punch lists and handover. Each phase builds on the previous one and requires specific documentation and communication checkpoints to keep the project on track and within budget.
How do you keep a residential construction project on budget?
Accurate cost estimation at the start, detailed job costing throughout construction, and regular budget variance reviews are essential. Implement a change order process so homeowner decisions don’t surprise your financials. Track material costs, labor hours, and subcontractor invoices against your estimate. Use project management software to flag budget overruns early. Monitor cash flow weekly and adjust resource allocation as needed to prevent cost creep.
How often should a construction project manager communicate with the homeowner?
Weekly site reviews and progress updates are standard practice for residential projects. Schedule formal meetings every 1-2 weeks to review schedule status, budget performance, and any emerging issues. Document all decisions and changes in writing. For major milestones or unexpected problems, communicate immediately. Establish clear communication channels (email, phone, in-person) upfront so homeowners know when and how to reach you with questions or concerns.
How do you manage subcontractors on a residential construction project?
Start with clear contracts that define scope, timeline, payment terms, and quality standards. Schedule subcontractors to avoid conflicts and bottlenecks. Conduct pre-work meetings to review specifications and expectations. Perform quality inspections at key points and document findings. Track attendance and progress against your construction project schedule template. Maintain open communication about delays or material issues. Process invoices only after work is verified complete and meets your standards.