
Last Updated: October 26, 2026
Quick Summary
Residential addition project planning starts by defining your addition’s purpose and space needs, assessing your site and existing home conditions, setting a realistic budget with contingency, creating a phase-by-phase timeline, and verifying zoning and permits before breaking ground. This upfront planning prevents costly mistakes and delays throughout construction.
- Build a contingency buffer of 15-20% into your budget for unexpected conditions like hidden rot or soil issues.
- Most residential additions follow nine phases from feasibility through final inspection, typically taking 4-12 weeks for permits alone.
- Inspection gates are hard stops where work cannot proceed until an inspector signs off on foundation, framing, rough-ins, and final stages.
- Compare contractor bids line by line on scope, allowances, exclusions, and payment milestones, not just total price.
- Document every cost assumption and schedule change in writing to prevent disputes and track cumulative budget and timeline impacts.
Table of Contents
- Define Your Addition’s Purpose, Space Needs, and Goals
- Assess Your Site and Existing Home Conditions
- Home Addition Budget Planning: Set Realistic Costs and Contingencies
- Create a Home Addition Project Timeline You Can Manage
- Verify Zoning, Permits, and Building Code Requirements
- Use a Home Addition Planning Checklist Before Breaking Ground
- Choosing a Home Addition Contractor and Evaluating Bids
- Get Started on Your Residential Addition Project
- Frequently Asked Questions
Define Your Addition’s Purpose, Space Needs, and Goals
Start by asking what you actually need, a bedroom, a kitchen, a whole suite?
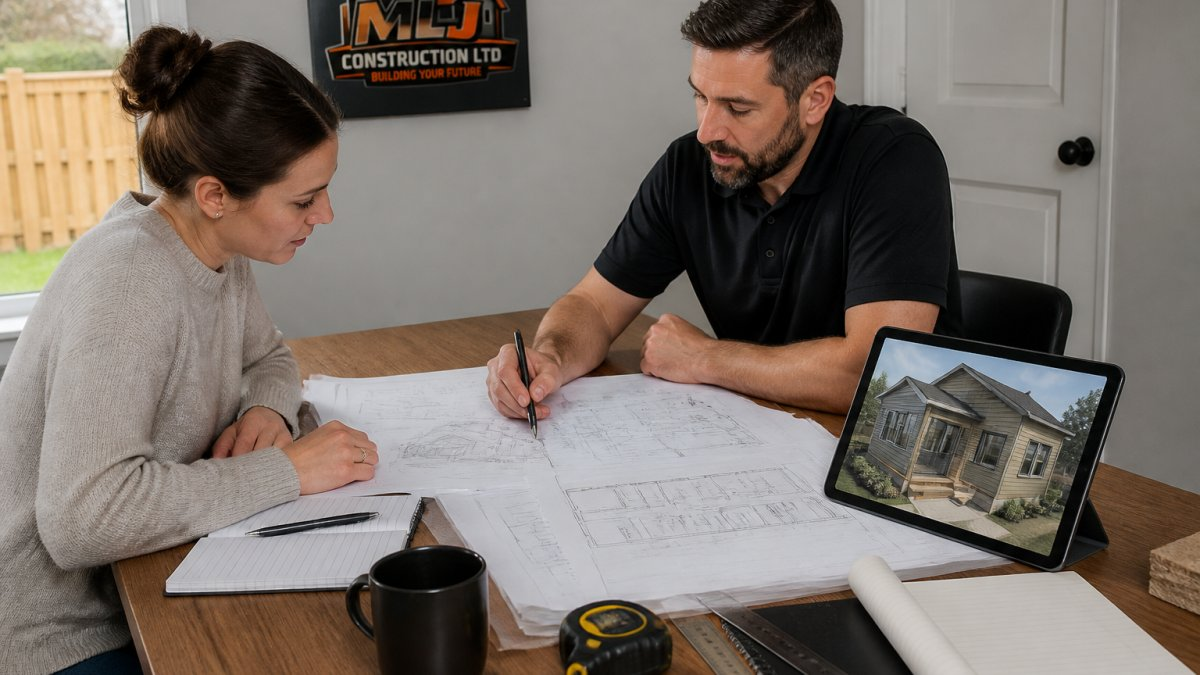
Write your goals down and be specific.
Consider how the addition fits your life: daily use, resale value, seamless connection to existing rooms.
Explore residential addition services to see what’s possible for your space.
Think about future flexibility too. Could that spare bedroom become a home office?
Assess Your Site and Existing Home Conditions
Before you design anything, walk your property and check the ground, roof, foundation, and existing walls.
Ask yourself these questions:
- Is your yard sloped or level?
- Where is the sun throughout the day?
- Are there trees, utilities, or property line issues?
- What’s the condition of your foundation and roof?
- Does water drain properly away from the house?
Poor drainage or a cracked foundation affect your addition’s cost and durability. A structural engineer can assess these.
Check your existing home’s construction.
Site conditions matter more than most homeowners realize. A sloped yard might require retaining walls; poor soil might need deep footings.
Home Addition Budget Planning: Set Realistic Costs and Contingencies
This is where many projects go wrong. Homeowners underestimate costs, then panic when bills arrive.
Start with a realistic estimate.
Build a contingency buffer. Construction always encounters surprises. Hidden rot, undersized electrical panels, soil conditions worse than expected.
Break your budget into categories:
- Site prep and foundation
- Framing and structural work
- Roofing and exterior
- Windows and doors
- Electrical and plumbing
- HVAC integration
Get multiple quotes. One contractor might include finishing; another might not. Learn how to avoid construction budget overruns to keep costs under control throughout your project.
Document every cost assumption in writing. This prevents disputes later and helps you spot where bids differ significantly.
Create a Home Addition Project Timeline You Can Manage
A realistic timeline keeps your project on track and your stress down. Rushing leads to mistakes and cost overruns; dragging it out costs more in labour and disrupts your life longer. The goal is a schedule with visible dependencies, inspection gates, and buffers you can defend when a trade falls behind.
Phase-by-phase sequence
Most residential additions follow a predictable order. Your contractor may compress or overlap phases, but the dependencies stay the same.
- Feasibility and pre-design (2-4 weeks). Survey, site review, structural assessment, and a preliminary budget range. This is where you confirm the addition is buildable before spending on design.
- Design and engineering (4-8 weeks). Architectural drawings, structural engineering, and material selections. Selections made here, windows, siding, roofing, drive lead times later.
- Permit application and review (4-12 weeks, varies by municipality). Submit a complete package. Incomplete applications are the single most common cause of permit delay. Expect at least one round of comments from the reviewing authority.
- Site prep and foundation (3-4 weeks). Excavation, footings, foundation walls, and waterproofing. Weather-sensitive; frozen ground or heavy rain can push this phase.
- Framing and rough-ins (4-6 weeks). Structural framing, roof framing, then rough electrical, plumbing, and HVAC. The framing inspection typically must pass before rough-ins are covered.
- Exterior envelope (3-4 weeks). Roofing, windows, doors, siding, and flashing. Getting the building weathertight unlocks interior work.
- Insulation and drywall (2-3 weeks). Insulation inspection, then drywall, taping, and priming.
- Interior finishes (6-8 weeks). Cabinetry, flooring, trim, paint, fixtures, and final mechanical connections.
- Final inspections and closeout (1-2 weeks). Final building inspection, occupancy sign-off where required, punch-list completion, and warranty documentation.
Inspection gates that control the schedule
Inspections are hard stops, not administrative afterthoughts, work cannot proceed until an inspector signs off. Common gates include:
- Foundation and footing inspection before backfill
- Framing inspection before insulation
- Rough-in inspections for electrical, plumbing, and HVAC before walls close
- Insulation and vapour barrier inspection before drywall
- Final inspection before occupancy
Build inspection scheduling into the timeline. In busy periods an inspector may not be available for days, and a failed inspection adds rework time. Ask your contractor how inspections are scheduled and who books them.
Common sources of delay
- Incomplete permit packages. Missing drawings, engineering letters, or site plans trigger resubmission.
- Design changes after permit. Moving a wall or window after approval often requires a revision and re-review.
- Long-lead materials. Windows, custom cabinetry, and some roofing products can run 8-16 weeks. Order as soon as the design is finalized.
- Hidden conditions. Rot, undersized framing, or unexpected soil conditions discovered during demolition.
- Trade sequencing conflicts. A plumber and electrician who both need the same wall cavity on the same day cost you a day.
- Weather. Foundation and roofing phases are the most exposed.
Ask your contractor for a schedule that shows phase start and end dates, inspection dates, and material delivery dates on one page. A schedule without inspection and delivery milestones is a wish list, not a plan.
Living through the timeline
If you are staying in the home, plan for dust, noise, and disrupted utilities. Coordinate bathroom and kitchen use, and if the addition blocks a primary entrance, agree on a temporary access route before work starts.
Holding the schedule accountable
Review progress weekly against the schedule. When a phase slips, ask about the downstream impact and whether the buffer absorbs it, and document schedule changes in writing alongside change orders. A timeline that is never updated is a record of what you hoped would happen, not a management tool.
Most residential additions follow a predictable sequence of phases, each with typical durations.
| Phase | Duration | Key Activities |
|---|---|---|
| Feasibility and pre-design | 2-4 weeks | Survey, site review, structural assessment |
| Design and engineering | 4-8 weeks | Architectural drawings, structural engineering |
| Permit application and review | 4-12 weeks | Submit complete package, expect comments |
| Site prep and foundation | 3-4 weeks | Excavation, footings, foundation walls |
| Framing and rough-ins | 4-6 weeks | Structural framing, roof, electrical, plumbing |
| Exterior envelope | 3-4 weeks | Roofing, windows, doors, siding, flashing |
| Insulation and drywall | 2-3 weeks | Insulation inspection, drywall, taping, priming |
| Interior finishes | 6-8 weeks | Cabinetry, flooring, trim, paint, fixtures |
Verify Zoning, Permits, and Building Code Requirements
This step determines whether your addition is even legal. Skip it and you face fines, forced removal, or resale problems.
Check your local zoning regulations.
Understand building code requirements. Safe construction practices also necessitate a thorough review of residential scaffolding requirements to ensure that your site remains compliant while these structural improvements are underway.
Get your building permits before breaking ground. Permits ensure your design meets code. Inspectors check work at key stages. This protects you.
Hire a professional to handle permits if you’re unsure. Architects and contractors know local requirements.
Use a Home Addition Planning Checklist Before Breaking Ground
A checklist keeps you organized and ensures nothing slips through.
Before construction starts, verify:
- Addition purpose and goals documented
- Site assessed by professional
- Budget set with 15-20% contingency
- Timeline created with realistic phases
- Zoning requirements confirmed
- Building permits obtained and approved
Print this checklist. Walk through it with your contractor. Mark off each item. This simple step prevents forgotten details that derail projects.
Choosing a Home Addition Contractor and Evaluating Bids
Your contractor makes or breaks your project. Choose carefully. The difference between a smooth addition and a stressful one is usually not the price, it is the clarity of the scope, the contract terms, and how change orders are handled.
Start with a shortlist
Ask friends, family, and neighbours who they have used for similar work. Read online reviews critically, patterns of complaints matter more than one unhappy customer. Look for contractors who have completed additions comparable in size and complexity to yours, not just renovations.
Interview at least three contractors. Ask:
- How many residential additions have you completed in the past two years?
- Can you provide references from recent projects I can contact?
- Who will be on site day to day, you, a site supervisor, or subcontractors?
- How do you handle change orders and schedule updates?
- What is your payment schedule and what does each milestone represent?
- Are you licensed in the province, and can you provide proof of liability insurance and workers’ compensation coverage?
Compare bids on scope, not price
The lowest bid is often the least complete. The highest bid does not guarantee quality. Compare bids line by line against the same scope document.
A bid-comparison checklist:
- Scope of work. Does the bid list every phase, site prep, foundation, framing, envelope, mechanical, finishes, or does it assume items are excluded?
- Allowances. Are fixtures, flooring, and cabinetry priced as allowances? A low allowance with a high upgrade cost is a hidden price increase.
- Exclusions. What is explicitly not included? Permits, engineering, landscaping, and cleanup are common exclusions.
- Insurance and licensing. Confirm liability insurance and workers’ compensation coverage in writing.
- Payment milestones. Progress payments should tie to completed work, not to a calendar. A large deposit before work starts is a red flag.
- Warranty. What is covered, for how long, and who honors it, the contractor or the manufacturer?
- Change-order terms. How are changes priced, approved, and documented? Are there markup limits?
A bid that is significantly lower than the others usually means something is missing, an exclusion, an unrealistically low allowance, or a scope item the contractor expects to add later as a change order. Ask what is not included before you compare totals.
Check licensing and insurance
Verify the contractor is licensed in your province and carries current liability insurance and workers’ compensation coverage. Ask for certificates, this protects you if something goes wrong on site.
Review the contract before signing
The contract should specify:
- Scope of work and the drawings it is based on
- Timeline with phase milestones
- Payment schedule tied to completed work
- Allowances and how overages are handled
- Change-order process, including who approves and how costs are calculated
- Warranty terms
- Dispute-resolution process
Vague contracts create disputes. Clear contracts protect both sides. If a term is unclear, ask for it in writing before signing.
Manage change orders deliberately
Changes happen. The process for approving and pricing them matters. A good contractor documents changes in writing, scope, cost, and schedule impact, before proceeding. Keep a change-order log so you can see the cumulative effect on budget and timeline.
Get a comprehensive guide to hiring contractors for home additions to evaluate bids properly. Learn about our additions contracting services to see what a professional approach looks like.
Get Started on Your Residential Addition Project
Planning a residential addition project planning takes time upfront but prevents costly mistakes and delays. Define your purpose clearly. Understand your site.
The strongest projects start with the strongest planning. Too many homeowners rush this phase and regret it later.
MLJ Construction Ltd. brings experience managing every detail from concept to completion. Contact us to get started on your residential addition project.
Frequently Asked Questions
What are the biggest mistakes to avoid when planning a residential addition project?
Planning considerations include budgeting for contingency costs, permit fees, and site prep work; checking soil conditions and utilities; reviewing contractor references and past projects; planning for living disruptions during construction; and checking zoning setback requirements.
How long does it take to plan and build a home addition?
Planning and construction timelines vary. Weather, permit delays, and change orders can affect timelines. Building a home addition project timeline upfront can help you manage expectations.
What is the most expensive part of a home addition?
Foundation and structural work, roofing, HVAC systems, electrical and plumbing integration, labor, finishes, and contingencies are factors to consider when planning a home addition budget. Site conditions and existing home complications can affect costs.
What permits and approvals do I need for a residential addition?
Permit and approval requirements vary. Verify zoning compliance and contact your local building department early in your residential addition project planning to confirm the requirements that apply.
The difference between a project that runs smoothly and one that spirals is planning. Start now. The time you invest today saves months of stress and thousands in cost overruns later.
